HIGHLANDER Velebit 100km – 17 hiking tips from the trail
Why did we choose a 100km hike in Croatia for a team event? We had been looking for a team […]
Why did we choose a 100km hike in Croatia for a team event?
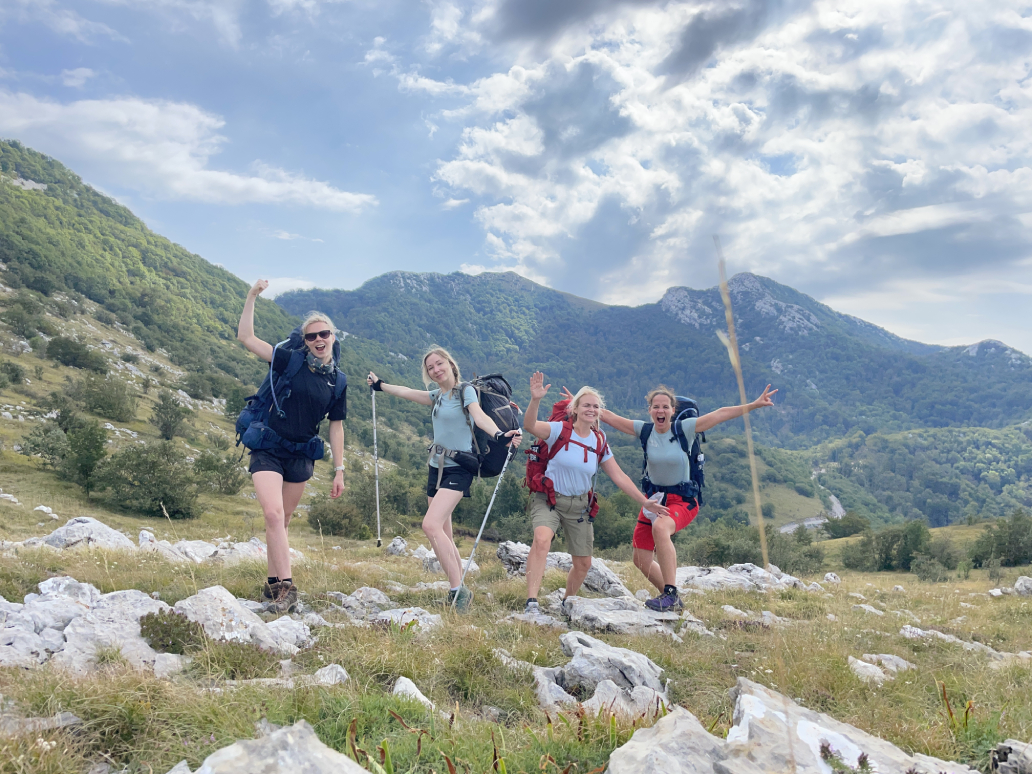
We had been looking for a team event with our marketing team for a long time. We wanted to combine work and fun and offer something for both the soul and the mind. As Tactical Foodpack had decided to sponsor the HIGHLANDER series of hiking events in 2023, it seemed like the perfect opportunity to go there and see what this event is all about and what the participants think of Tactical Foodpack’s brand and food. On the other hand, it also seemed like the perfect team event to see how the team works and how everyone handles challenging moments. Going to play bowling is not really our style and we were looking for something unique. Therefore, we chose the longest of the Highlander hiking series formats, the 100km Hercules route in the Velebit mountains. We highly recommend such an adventure as a small company team event, but it is definitely suitable for solo or pair hikes as well.
How and what preparations did we make?
- We registered a month before the event (we recommend doing this well in advance to secure an earlier starting time) and most of us were relatively inexperienced when it came to hiking with a backpack.
- While everyone had some hiking experience, it was mostly 10-20km on relatively flat forest paths with a light backpack or even none at all. Physically, we were probably in decent shape – two of us were in very good shape (running about 30km per week plus strength training), while the others were at an average level. ➤TIP! Before the hike, take a few ten-kilometer walks with your hiking boots and a 10kg backpack. This way, you can test and fine-tune your equipment and footwear before the hike.
- We were all very excited about what lay ahead and confident that we would complete the hike, but we all feared the heavy backpack. Oh, how we packed – each of us tried to find lighter equipment and optimize as much as we could. For a five-day hike, five clean shirts are definitely a luxury, not a necessity.
- On the Highlander website, there was a list of mandatory equipment as well as everything else you could take with you. We probably only took about half of the additional items. We shared some things as a group, for example, we shared gas canisters.
- All in all, we did a pretty good job because our backpacks, including 3L of water and 2 days’ worth of food, weighed 13-14kg, and we used all the items and clothes we brought. Looking at some other people’s backpacks, we shuddered to think how they would reach the end, and indeed, it was challenging for them.

Our Equipment Recommendations for a 5-day Hike:
CLOTHING-FOOTWEAR:
- 3 pairs of socks + 1 pair of merino socks (evening/night)
- 3 pairs of underwear
- 2 short-sleeved shirts
- 1 long-sleeved shirt
- 1 merino shirt (for rest and sleeping, when the body is clean)
- 1 pair of shorts
- 1 pair of long hiking pants
- 1 pair of long tights (for rest)
- Rain jacket
- Light down jacket
- Hiking hat for sun protection + Warm hat for the evening (morning)
- Sandals
SLEEPING GEAR:
- Tent (2-person)
- Down sleeping bag (-2 comfort) – nights are quite cold, so a warm sleeping bag is essential
- Inflatable lightweight mattress
FOOD AND DRINK:
- 3L water bladder
- Primus stove + gas
- Spork
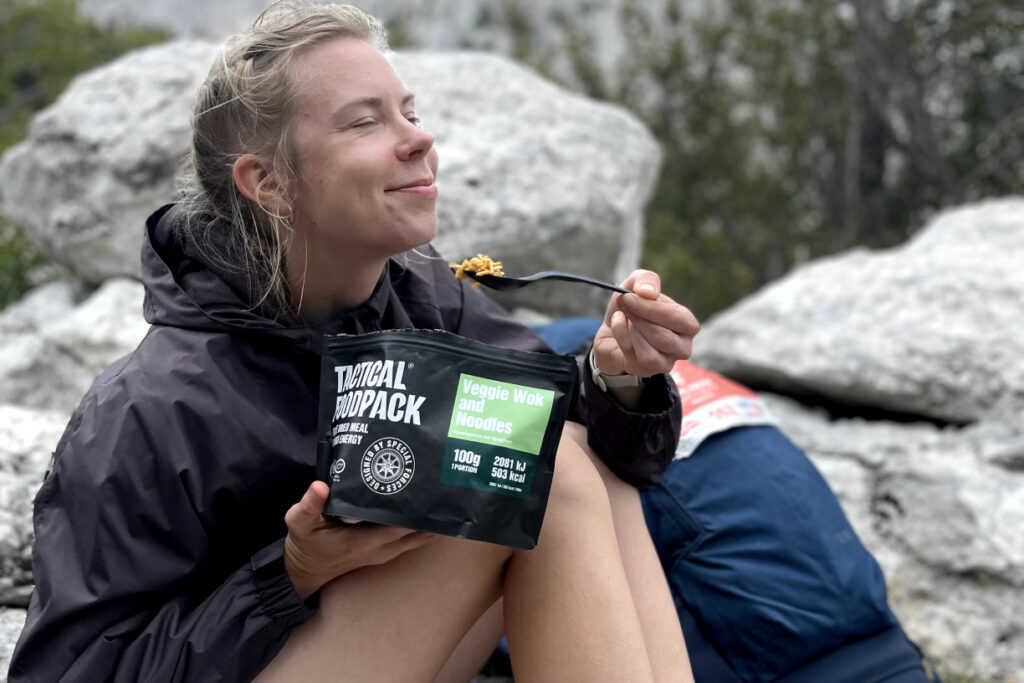
- Tactical Foodpack meals 2x
- Savory biscuits
- Freeze-dried cheese snacks
- Freeze-dried cookie balls
- Dried beef jerky
- Freeze-dried apple chips
- 2x Isotonic drink
OTHER:
- Power bank
- Outdoor shower 4x
- Wet wipes (for cleaning)
- First aid kit: various-sized band-aids, elastic bandage, iodine, ibuprofen, magnesium (cream and/or powder)
- Swiss army knife
- Headlamp
- Sunscreen
- Personal hygiene items (toothbrush and paste, etc., as per preferences and needs)
One of the more challenging tasks was to pack the backpack in such a way that it would be super comfortable and not be a hindrance during the hike. ➤TIP! If you haven’t hiked with a large backpack before, seek assistance from a hiking store or from the organizers/participants before the hike. It’s essential that the main weight is on your hips, not just on your shoulders and back. If possible, take a few 10km hikes at home with a heavy backpack to understand the best way to carry the backpack on your back. I think we all got our backpacks adjusted quite well, and, of course, on the first long day, the back got tired, but overall, the backpack was even the least of our concerns.
Important note! Since you can’t take gas on a plane, don’t leave it in Senj. Instead, buy it in Zagreb or another major city where you land, because, for example, in Senj, we ran out of the right gas.

Day 1 – 34km / 600m ascent / 1155m descent
DIFFICULTY: 8.5/10
Certainly, the most challenging day of the entire hike, as the distance was very long. In hindsight, it seems that it was a good thing to have such a long day right at the beginning, as our legs were still at their freshest. The trail was undeniably picturesque, and we could enjoy many beautiful views.
A strong recommendation is to register as early as possible so that you can start in the early groups. Our start was at 11:30, the last group, and we ended up in the dark for the last 2 hours. However, hiking in the dark was a completely unique and interesting experience. So be sure to bring a headlamp! Tired and blistered feet and many loose rocks on the nighttime trail were not the most enjoyable, though. We were on the trail for 10.5 hours, with 3-4 stops, one of which was 30 minutes, but the others were 10 minutes. The pace was rather fast for the first 15km, but the pace for the last 2 hours was very slow.
The last hour to the campsite felt like the longest hour of our lives, and upon arrival, we were greeted by a cool and damp night, so we quickly crawled into our tents, tired.

Day 2 – 14 km / 163m ascent / 211m descent
DIFFICULTY: 4/10
After a challenging start, the second day felt like a nature walk. It was an easy day – the shortest distance – 14km, and the trail was relatively light, with even a few kilometers of asphalt at the end. In this camp, there was also a hostel, a restaurant, toilets, true comfort. PS! You can even order breakfast from the restaurant, and the prices are very reasonable.
Since the second day was 20km shorter, we arrived at the campsite early, set up the tent in daylight, and enjoyed the evening’s atmosphere and getting to know other hikers. Highlander is a unique event, as each campsite offers activities from concerts to yoga, and during the hike, you can make many new acquaintances.

Day 3 – 18.2 km / 1180m ascent / 968m descent
DIFFICULTY: 7.8/10
The day with the most ascents, some of which are very steep, but the views are worth it all. Although there aren’t many kilometers, it can be physically challenging because at times, you have to climb steep mountains almost vertically. At times, our pace was 2 km/h. We slowly began to understand why people wake up quite early in the mornings and hit the hiking trail.
➤TIP! Start early, we recommend around 7 AM, to pass through the valley and primeval forest and have lunch already at the mountaintop. These views are worth it!

Day 4 – 17.1 km / 800m ascent / 1093m descent
DIFFICULTY: 6.8/10
A rainy day. On one hand, it was supposed to be an easier day than the previous one, but at the beginning, it felt even more challenging because half of the distance was very tough. In addition, the rain didn’t make the situation any better. However, thanks to the rain, the nature smelled wonderful. There were many ascents and descents, but the second half was relatively easy. The distance was 1.5 km longer than indicated, and if you’ve calculated a specific mileage, every additional 100 meters feels like torture on your legs. On the other hand, the views were once again very beautiful, and the gentle valleys in the second half of the trail provided a change of scenery, along with cows and horses. There were plenty of cows in the campsite, and one of the day’s big challenges was setting up the tent between the piles.

Day 5 – 18.1 km / 290m ascent / 1133m descent
DIFFICULTY: 4.5/10
The last day – the descent day, which starts with quite a long and steep ascent. But on the last day, you’re already thinking about the finish, and your spirits are high. Halfway through, there’s a cafe, a rest area with restrooms, and from there, the trail is very easy all the way to the end, passing through a rather crowded nature park. The emotions at the finish are supreme, as is the reception. With stamps in hand, a diploma, and some souvenirs, you can head to a bar to enjoy a particularly “sweet” burger after a 100km hike, and let’s not forget – the local Rakija shots were also in their place!

In summary, it’s a fantastic event for both beginner hikers and advanced hikers because the trail was actually as challenging as you chose your own pace and start time. In addition to self-overcoming and stunning views, what made the event special were the evening gatherings where you could share immediate emotions with others, do yoga, or even dance to pleasant music if you still had the energy. We had plenty of it.
Tips from our team which are really practical if you are a novice hiker like us:
➤TIP 1! Always start walking between 7-8 in the morning, so you can cover the trail in daylight and enjoy the views. It’s also easier to set up your tent in the daylight.
➤TIP 2! Since the Velebit trail is a terrain full of loose rocks where it’s easy to stub your toes or twist your ankle, it’s highly recommended to wear hiking boots, not sneakers, on the trail. PS! Some people brought separate sneakers, which is a good idea – for a quick change when the terrain is more suitable for sneakers (as there were such places).
➤TIP 3! Your footwear should be at least 1.5 sizes larger, especially if you’re not already an extreme athlete because your feet will swell, and there should be room for your toes.
➤TIP 4! To prevent blisters, a tip is to wear a thin sock under your hiking sock. But do this from the first day, just in case.
➤TIP 5! Always take off your footwear as soon as you rest, even if it’s just for 10 minutes! It’s recommended to take off your socks too.
➤TIP 6! Keep your backpack as light as possible. It’s good to have a maximum of 13-14 kg for women, including 2 days’ worth of food and drinks. We can’t provide advice for men as we completed the hike as a women’s team.
➤TIP 7! Keep your first aid kit, headlamp, pocket knife, and snacks in an easily accessible place in your backpack. This way, you don’t have to rummage through your bag to find these essential items or take off your backpack to access them.
➤TIP 8! Definitely use a hydration system with a hose. A hands-free drinking system makes life much easier, and you’ll drink more for sure. We reminded everyone in the team to take a few sips of water every kilometer.
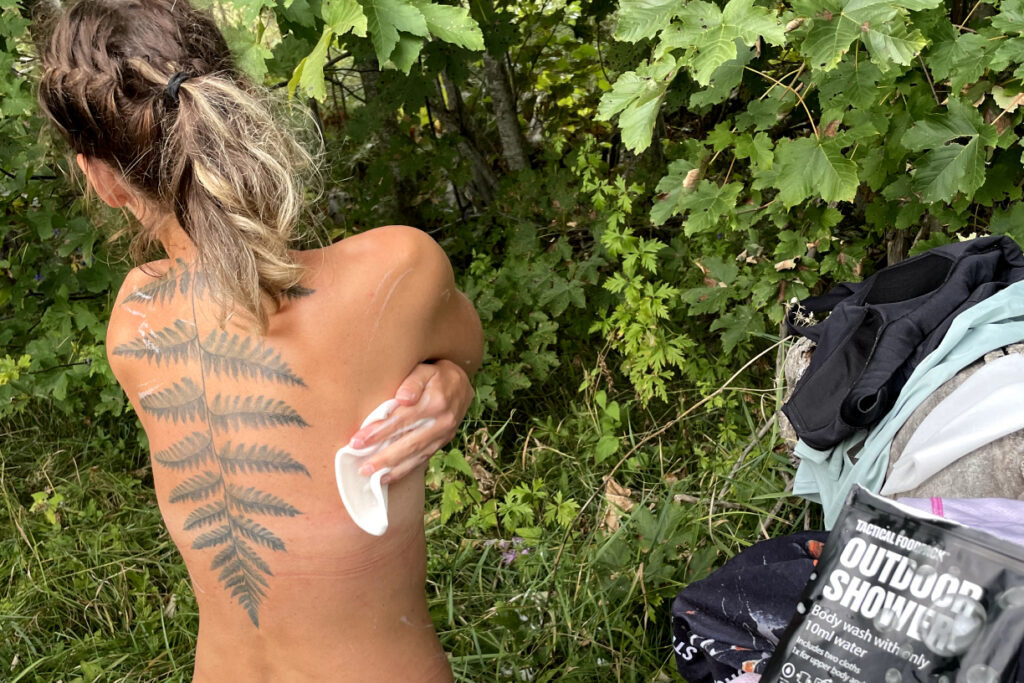
➤TIP 9! Wash yourself as soon as you arrive and set up the tent. We used Outdoor Shower – a favorite product now. It only requires 10ml of water, and it cleans you completely with two sponges. Plus, it contains panthenol, which helps heal minor wounds and scratches, soothes and cools sunburned skin. It doesn’t need to be rinsed. Once you’re clean, put on clean clothes.
➤TIP 10! Keep everyone’s spirits up all the time, both your team and other participants who may be having a tough time.
➤TIP 11! Keep your phone in airplane mode to save battery, and you probably won’t have much signal anyway in the mountains.
➤TIP 12! Avoid blisters at all costs. Try to choose shoes and socks suitable for the terrain. Let your feet breathe, and take breaks for resting. Be sure to bring slippers with you so that when you reach the camp, you can take off your boots and walk around in slippers.
➤TIP 13! Hiking poles are very helpful in the mountains. You can use upper body strength to go uphill and downhill. You can also use the pole to test the terrain and avoid stepping on loose rocks. Don’t put your poles down during breaks because bending over and squatting is tiring. Support the poles against something to grab them easily, just as with your backpack.
➤TIP 14! In addition to sweet and salty snacks, also bring something sour. It’s a very refreshing taste. Freeze-dried apple chips, which are very light and tasty, are perfect for this. You can reuse the bag for coffee or tea drinking, and you can mix coffee grounds with a straw instead of a spoon. Bring your favorite snacks for tough moments.
➤TIP 15! A thermal blanket under your tent provides warmth. It also keeps the tent floor clean and dry.
➤TIP 16! Magnesium 🙂 Both cream and oral. Start using it before the hike and continue during the hike. If you apply the cream before going to bed, your feet will be fresh in the morning.
➤TIP 17! Don’t hike when you’re sick. We’ve tried it – trust us, it’s bad. Also, carefully consider whether a multi-day, heavy backpack mountain hike is reasonable if you have old injuries or joint problems. Many hikers limped through the hike on painkillers because previous hip and knee problems were amplified by the physical stress.
